W10185976 - Whirlpool Dryer Timer
Genuine Whirlpool OEM Part | Controls Dryer Cycle Timing and Motor Operation
Get This Part for Your Dryer
Enter your appliance model number to find the exact fit part for your Whirlpool dryer.
Shop at PartsDiscount.comWho Has Best Price Today?
Prices updated daily. Shop PartsDiscount.com for guaranteed lowest prices.
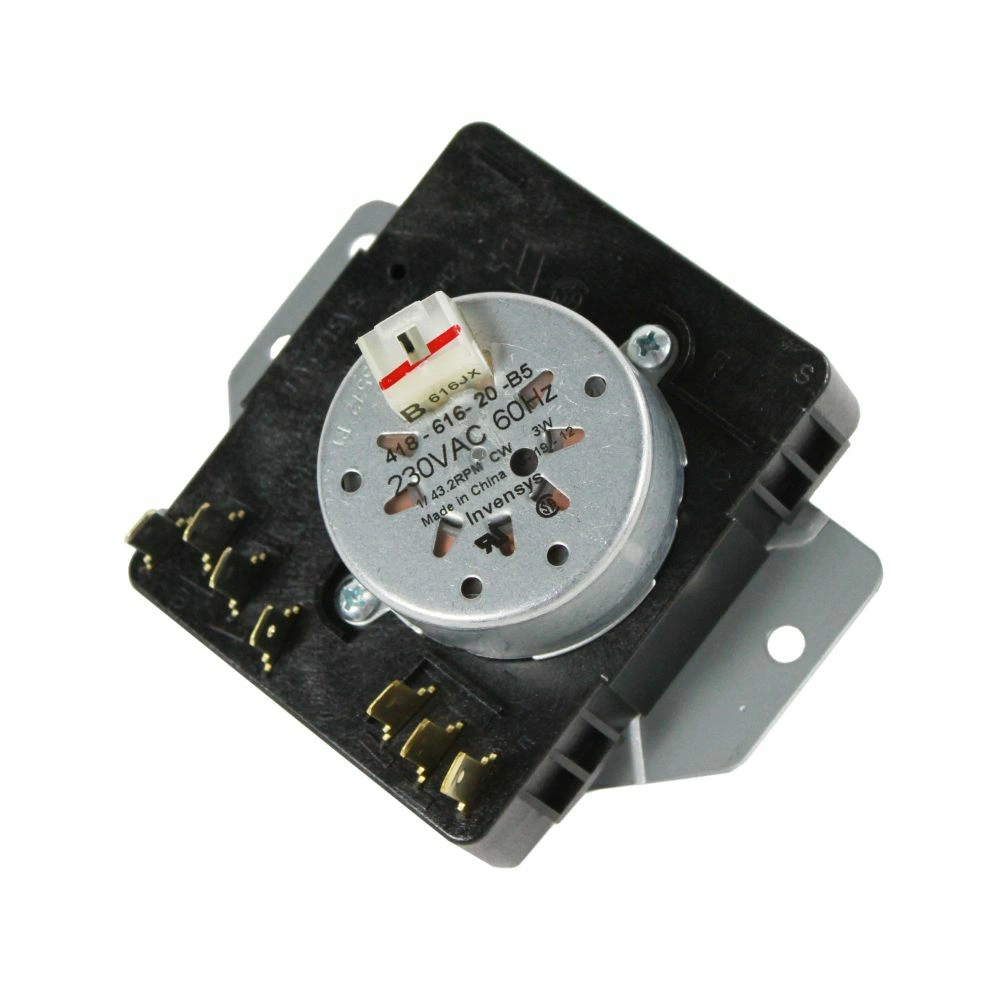
W10185976 Dryer Timer - Controls cycle timing, motor operation, and heat settings
Part Specifications
- Part Number:
- W10185976
- Replacement Part:
- Whirlpool
- Part Type:
- Dryer Timer
- Appliance Type:
- Electric/Gas Dryers
- OEM or Aftermarket:
- OEM Original or Aftermarket Replacement Available
- Installation Difficulty:
- Moderate (30-60 minutes)
- Cross References:
- AP6016539, W10185976, 1481703, PS11749829, WPW10185976VP
Compatible Appliance Models
This dryer timer fits the following appliance models:
Note: This is a partial list of compatible models. Always verify your exact model number before ordering to ensure perfect fit.
Installation Information
What Does This Timer Control?
- Cycle Timing: Controls the length of drying cycles and automatic shut-off
- Motor Operation: Starts and stops the drum motor during cycles
- Heat Settings: Regulates heat levels for different fabric types
- Signal Control: Controls end-of-cycle buzzer or signal
Installation Steps
- Disconnect power to the dryer at the circuit breaker
- Remove the dryer control panel screws and lift panel
- Take a photo of wire connections before disconnecting
- Remove the timer knob by pulling straight out
- Unscrew the timer mounting nut and remove old timer
- Install new timer and reconnect wires per photo
- Replace control panel and test operation
Tools Required
- Phillips head screwdriver
- Pliers (needle-nose recommended)
- Camera or phone for wire reference photos
Professional Tips
- Label wires with masking tape before removal for easier installation
- Timer failure often causes dryer to not start or run continuously
- Test all cycle settings after installation to ensure proper operation
- If timer knob is damaged, consider replacing it with the timer
Safety Warnings
⚠️ Electrical Safety: Always disconnect power before working on electrical connections. Dryer timers control 240V circuits in electric dryers.
Customer Reviews
See what customers are saying about this dryer timer replacement:
"Fixed my dryer that wouldn't advance through cycles. Installation was straightforward with the wire diagram. Timer works perfectly and cycles complete properly now."
Verified Purchase - 1 week ago"Dryer was running continuously and not shutting off. This timer replacement solved the problem completely. Good quality OEM part and saved me a service call."
Verified Purchase - 2 weeks ago"Timer installation took about 45 minutes. Make sure to take photos of wiring before removal - there are quite a few connections. Working great now."
Verified Purchase - 3 weeks agoImportant Information
Educational Purpose Only
This information is provided for educational and informational purposes only. Always consult your appliance's manual and follow manufacturer guidelines. If you're unsure about any repair procedure, especially electrical work, consult a qualified appliance technician.
Safety First
Dryer timer replacement involves electrical connections. Always disconnect power at the circuit breaker before beginning work. Take photos of wire connections before removal to ensure proper reinstallation.
Professional Installation
While this repair is suitable for experienced DIYers, consider professional installation if you're not comfortable with electrical work or appliance disassembly.